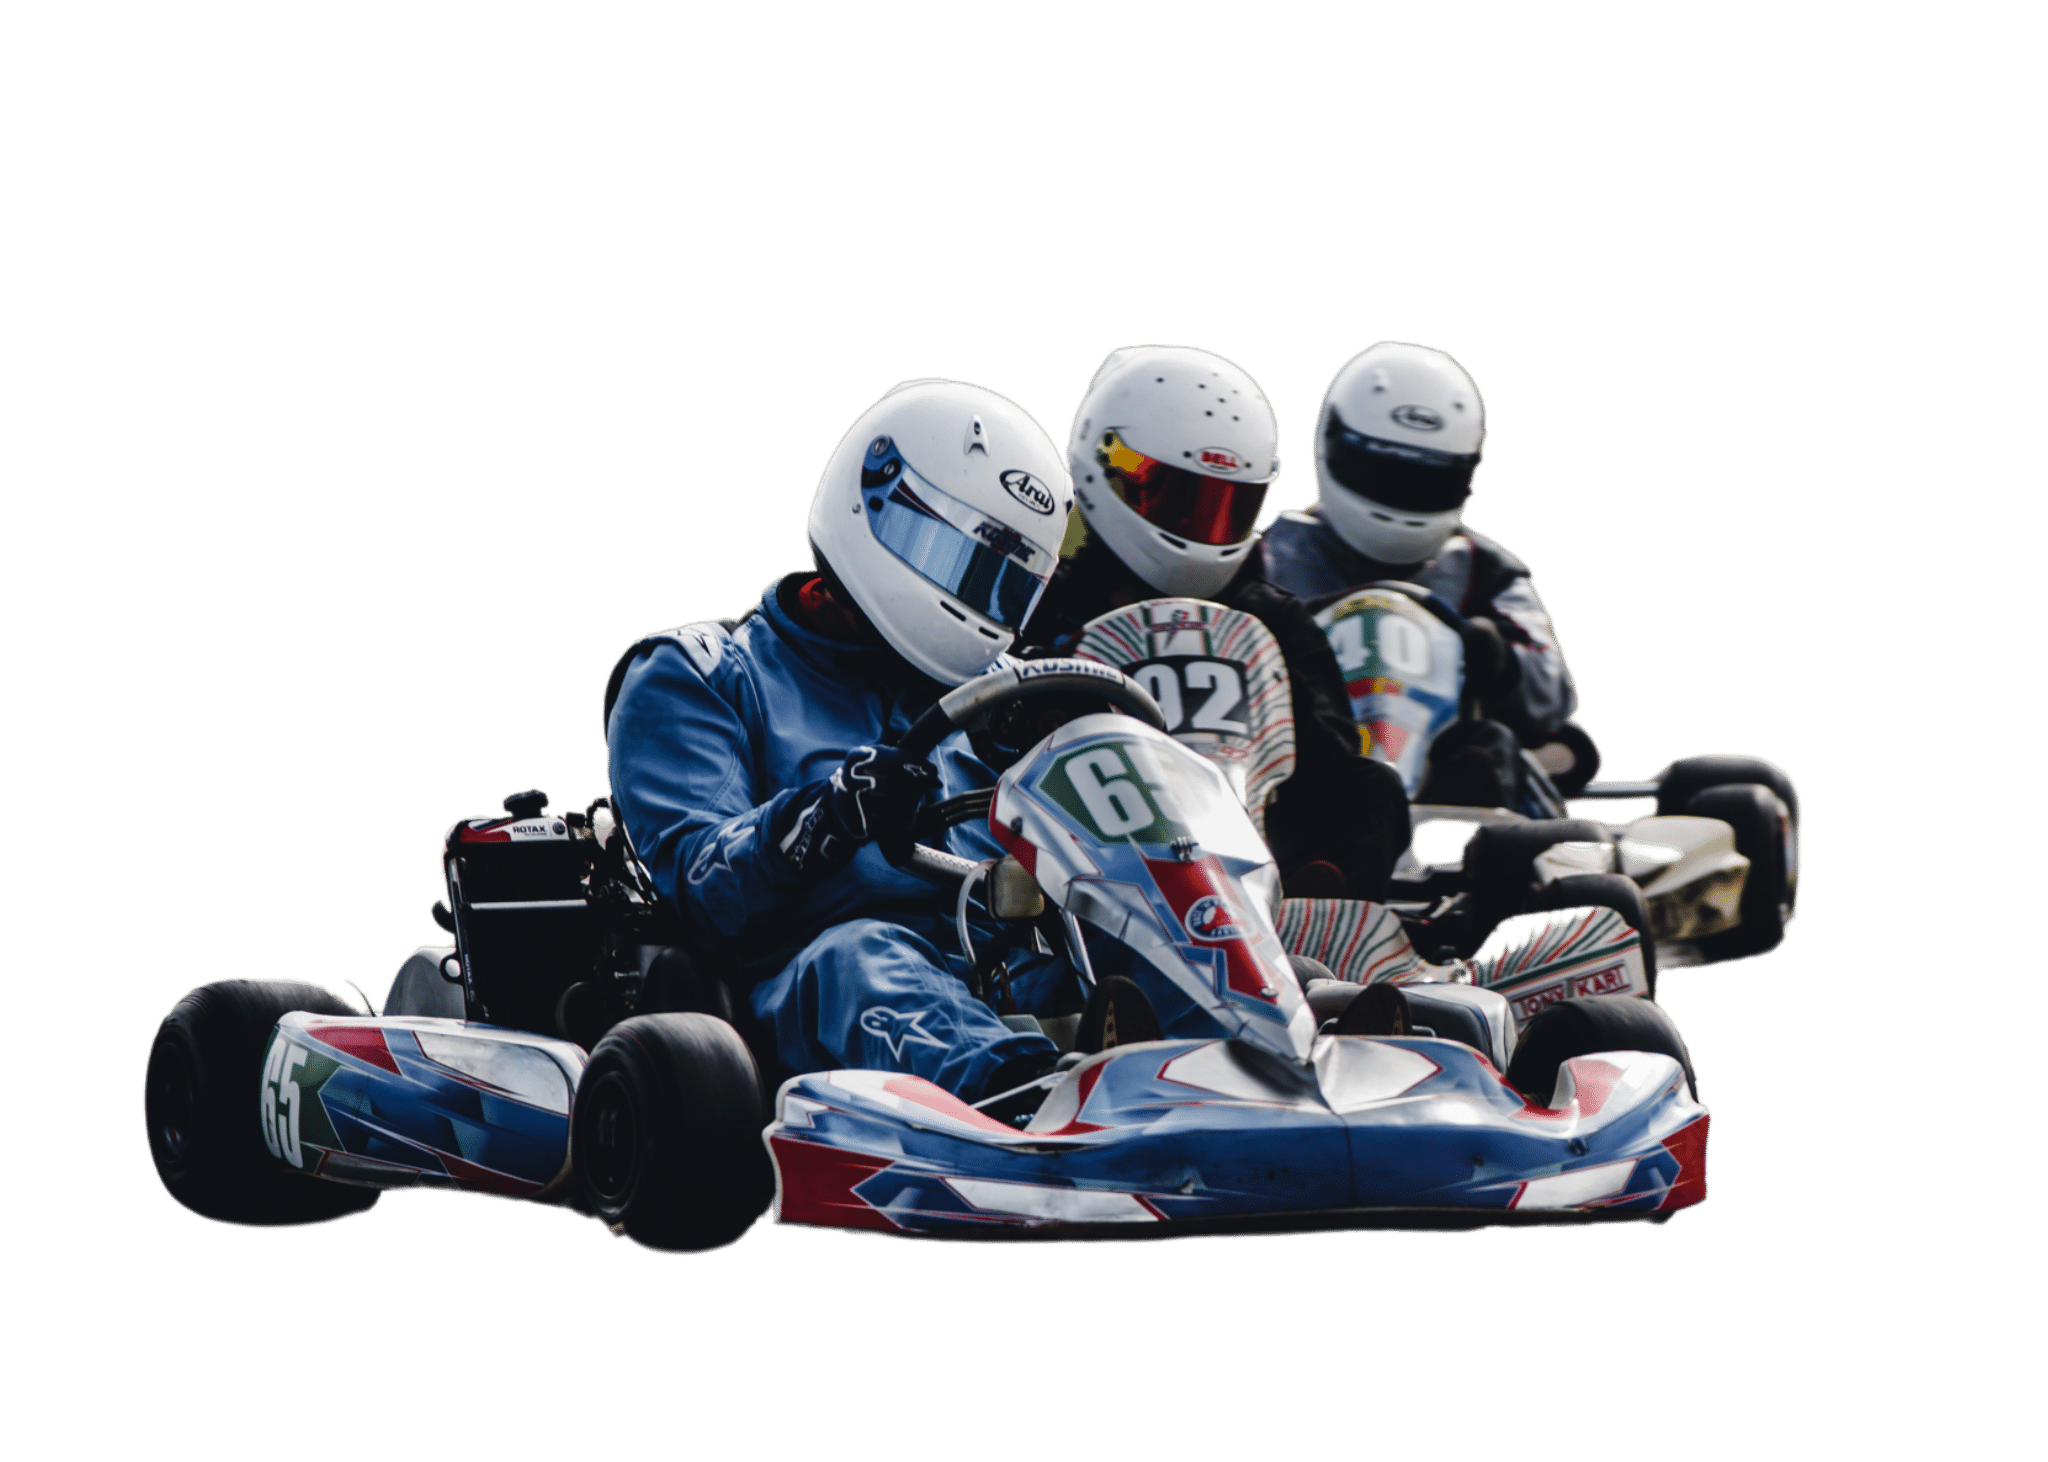
In the high-speed world of go-kart racing, efficiency and technical prowess are paramount, particularly when it comes to pit stops and tire changes. A racer’s ability to swiftly and safely replace a kart’s tires not only shaves precious seconds off lap times but also can be the difference between standing atop the podium or watching from the sidelines.
In this step-by-step guide, seasoned professionals will impart their knowledge on the intricacies of tire changing, from the initial selection of appropriate tools to the precise inflation techniques that optimize performance. As we break down each phase of the tire change procedure, we will highlight the often-overlooked details that distinguish a proficient pit crew member.
By understanding the nuanced mechanics behind a successful tire change, one can anticipate the transformative impact it could have on their racing strategy and overall competitive edge.
Before commencing the tire change process on your go-kart, it’s crucial to assemble all the necessary tools. These tools include a tire bead breaker, tire scissors, tire lube, a socket set, and the appropriate tools for loosening bead screws. This will ensure a smooth and efficient workflow.
Begin by applying tire lube to the bead area. This will facilitate easier removal and installation of the tire without damaging the rim or tire itself. The correct application of tire lube is paramount to prevent excessive friction that can lead to complications during tire removal.
Next, utilize your socket set to methodically loosen the wheel nuts. Accurate socket set usage is imperative not only for disassembly but also to secure the wheel in place upon reinstallation. This is important to maintain the proper torque specifications for safety and performance.
Initiating the tire change sequence, the first step involves carefully loosening the wheel nuts using a properly sized socket from the set, ensuring each nut is turned counterclockwise and detached without applying excessive force that could damage the studs or nuts.
Precision is paramount when loosening wheel nuts; a methodical approach ensures that the wheel can be safely removed without compromising the integrity of the hub. This process is the inverse of tightening wheel nuts, which will later secure the wheel in place.
It is critical to apply even pressure as you turn the socket wrench, maintaining a steady grip and posture to avoid slippage or stripping. Each wheel nut should be loosened incrementally in a star pattern to maintain wheel balance and prevent warping of the brake rotor.
Once the wheel nuts are loosened, proceed to deflate the tire by pressing down on the valve stem core to release the air, ensuring the tire is completely void of pressure before attempting removal. This is a critical step in tire maintenance, as attempting to remove a pressurized tire can be dangerous and may damage the components.
With the vehicle securely stabilized, carefully pull the wheel straight off the hub, taking care not to disturb the alignment or damage the axle.
Prior to wheel removal, it’s imperative that all safety precautions are observed. Ensure that the kart is supported on a stable platform and that the wheel nuts have been loosened appropriately using a socket set. Once these nuts are removed, verify the area is clear and there are no obstructions that could interfere with the removal process.
Grasp the wheel firmly on both sides and gently remove it from the hub. Execute this step with precision and caution to maintain the integrity of the wheel’s fitment and to prevent any potential injury or unnecessary strain on the kart’s components.
Positioning the bead breaker tool against the tire’s edge, apply firm pressure to separate the tire bead from the rim, ensuring a controlled and efficient break without damaging the wheel. Here are the steps to master the technique:
After successfully breaking the bead, the next step involves carefully prying the tire from the rim using tire scissors, ensuring the rim remains undamaged throughout the removal process.
It’s crucial to apply tire removal techniques that prevent any harm to the rim’s integrity. Begin by applying a generous amount of tire lube on the edge of the rim to reduce friction.
Position the tire scissors between the tire and the rim, taking care to avoid pinching the tire bead. Leverage the scissors with a controlled and steady force, working incrementally around the circumference.
Carefully guide the tire over the lip of the rim, maintaining a watchful eye on the rim’s surface to prevent scratches or dents. Precision and patience are key in safeguarding the rim during tire removal.
To effectively separate the tire from the rim, ensure that you firmly place the bead breaker tool against the tire’s bead without contacting the wheel’s surface. Employing the proper bead breaking technique is crucial for a smooth tire change process, and it starts with the correct use of the bead breaker. This device demands regular bead breaker maintenance to function efficiently and prevent damage to the rim or tire.
Here are essential steps to handle the bead breaker:
Having carefully separated the tire from the rim with the bead breaker, the next critical step is to mount the new tire onto the wheel assembly with equal precision. To ensure proper tire handling and avoid rim damage, follow these expert instructions:
| Step | Action | Note |
|---|---|---|
| 1 | Apply Tire Lube | Facilitates mounting |
| 2 | Position Tire | Align with rim carefully |
| 3 | Mount First Bead | Over rim edge |
| 4 | Mount Second Bead | Use care to avoid pinching |
Start by generously applying tire lube to the beads of the new tire. This reduces friction and helps prevent rim damage. Carefully align the tire onto the rim, ensuring it’s centered. Gently work the first bead over the edge of the rim, followed by the second bead, taking extra caution not to pinch the tire. This method ensures a secure and damage-free installation.
Ensuring that the tire is seated correctly on the rim is crucial for both the performance and safety of the go-kart. A proper seating technique ensures that the tire will not come loose during operation and helps in avoiding rim damage.
Follow these expert steps closely for successful tire seating:
Remember to always check for an even bead line around the rim after inflation to confirm correct seating.
Begin the inflation process by slowly introducing air into the new tire, monitoring the pressure closely to avoid overinflation. Prior to inflating, ensure that installing the valve stem has been completed correctly, as this is a critical component for maintaining proper air pressure. With the valve stem securely in place, attach the air hose and gradually fill the tire. Keep a vigilant eye on the pressure gauge to guarantee that you reach, but do not exceed, the tire’s recommended pressure level.
As the tire fills, regularly inspect the bead to confirm uniform seating around the rim. Once the tire is adequately inflated, it’s essential to check the tire tread depth to ensure it meets the necessary safety standards and will provide reliable performance on the track.
With the new tire now properly inflated and the bead seated, the next critical step is to securely reinstall the wheel onto the go-kart’s hub. Proper wheel installation is not only essential for performance but also for safety.
Here is a precise, step-by-step guide to wheel reinstallation:
Executing these steps with attention to detail will ensure a safe and successful wheel reinstallation.
After the wheel has been securely reinstalled, it is crucial to adjust the tire pressure to the manufacturer’s recommended levels for optimal performance and safety. Precise tire pressure is vital for balancing tires and maintaining an even wear pattern. Utilize a high-quality tire pressure gauge and an air compressor with a regulator to fine-tune the pressure. The goal is to achieve the perfect balance, as both overinflation and underinflation can adversely affect handling and tire longevity.
| Pressure Setting | Condition | Reason |
|---|---|---|
| Low Pressure | Wet Track | Enhance Grip |
| Medium Pressure | Mixed Conditions | Balance Performance |
| High Pressure | Dry Track | Reduce Rolling Resistance |
Adjusting tire pressure should be done in small increments, checking the gauge frequently to ensure accuracy. Remember, consistent tire pressure is key to a well-balanced and responsive kart.
Safety measures are essential when changing go kart tires, as improper handling can lead to injury or damage to the kart. Adhering to safety guidelines not only ensures personal safety precautions are met but also protects the integrity of the kart. Consider these critical steps:
To determine if go-kart tires need replacing, inspect for reduced tread depth and look for sidewall cracks, both indicative of significant wear and potential safety hazards requiring immediate attention.
Changing a go-kart tire without a bead breaker is possible through alternative methods such as using tire lubrication and manual manipulation, but always adhere to safety precautions to prevent injury or damage.
To maintain tire integrity, employ tire rotation techniques and store in a climate-controlled environment, protecting them from temperature extremes and UV light that can degrade rubber compounds over time.
Different tire treads impact go-kart performance by altering grip levels. Select tire compounds suited for specific track conditions, considering weather adaptation to optimize handling and speed during racing or practice sessions.
Balancing go-kart tires is like fine-tuning an instrument; precise tire pressure and the strategic use of balancing beads ensure optimal handling and even tire wear for peak performance on the track.
In the realm of go-kart racing, the mastery of tire changes is akin to an art form, demanding not only precision but also an almost surgical finesse.
This guide has illuminated the path to such mastery, providing an arsenal of techniques that transform a mundane maintenance task into a symphony of mechanical harmony.
Adherence to these methods ensures that the chariot of the track is equipped with the wings of Mercury, ready to conquer the asphalt with unbridled speed and grace.